

Every farmer I know has, at one stage or another bowed to the request from an agronomist to get soil tests done on multiple parts of the farm. In a lot of cases they want numerous soil tests done over a period so that the difference in seasons can be looked at.
Just to be clear, I think that laboratory soil tests can be of benefit. Especially if you record all the details and the agronomists interpretation of what is good, bad, needs improvement and the suggestions from the agronomist. And you continue to do this with every soil test. Being able to see the difference over time is a valuable asset for your farm.
Soil tests, however are reliant on the laboratory that does the analysis and the knowledge of the agronomist. I was blessed to have the help of Hugh Lovell to analyse any soil tests that I did for quite a few years. Hugh gave me insights into how to interpret them and what remedies I should apply. Finding a Hugh Lovell was serendipity.
What type of Soil Tests?
There are twelve ingredients and three tools we will be looking for and finding out about.
Carbon, Oxygen, Aerobic Zone, Dry Matter, Calcium, Phosphorus, Potassium, Magnesium, Sulphur, Compaction and Sugar. Plus a Penetrometer, an EC Meter and the Refractometer.
I am about to start a range of soil tests that I can do myself and I want to write down the results and share the results and tools used with you.
I have just come back to Kumbartcho, the farm from a three day biodynamics class with Glen Atkinson and the lovely people at Bray Farms, Mitch and Nina. My head is spinning. But I know that most farmers are really busy and they would rather have answers to their questions than go to a workshop that leaves them with more questions than answers.
The nature of biodynamics for a lot of people is too vague. The answers are hard to get and take a big time investment.
These Simple Soil Tests came from a youtube video, that if you watch, you will see the common sense and understand it.
The First Tool To Use
is the penetrometer. Explained at twenty minutes into the video.
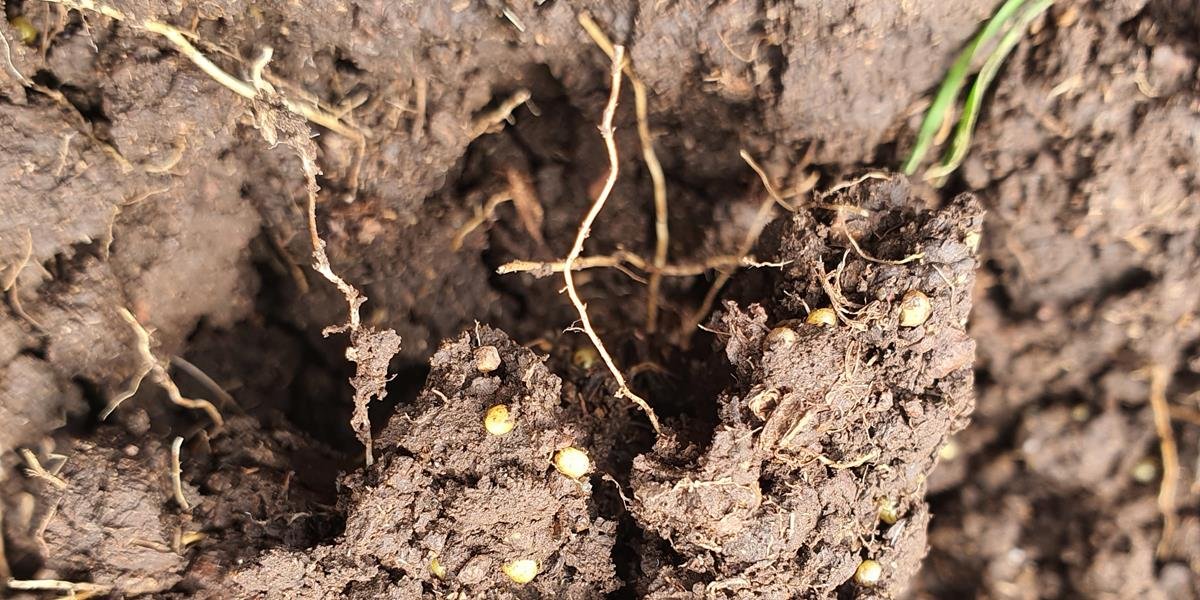
I have black soil in the lowest paddock at Kumbartcho and I will be using a penetrometer that I collected from the post office this morning to test it. The soil is hard but with the rain we have been having it is better than it has been for years. As soon as we hit a dry spell it will revert to a soil that is as hard as rock with roots that can’t penetrate more than an inch or two.
I have slashed and raked the paddock into rows and will be seeding the rows with pigeon pea and other seeds that will germinate in the mulch rows in the spring. Those seeds will be the start of penetrating the hard packed soil and opening it up to oxygen. While waiting I will be working out what is the cause of the hardpacked soil.
150psi
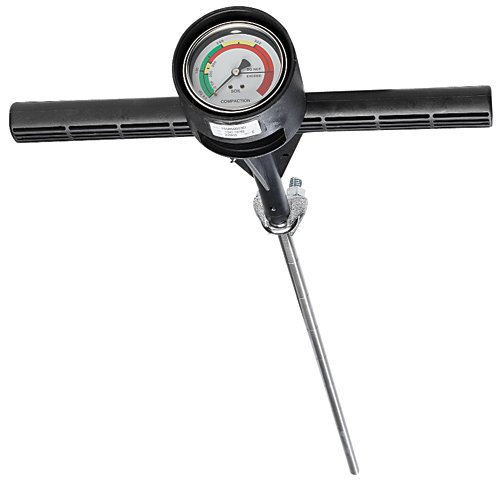
Picture of the penetrometer
The deeper you get your aerobic zone the further the high pressure front gets pushed into the soil, the more microbial activity you have, the healthier your soil is. Healthy meaning without disease or impairment.
Start off with 150mm (6 inches)
Another option is a banana spade or sand shovel. Take it and dig down into last year’s crop and see where the roots are growing and what they’re doing.
You Will Find More Phosphorus in the Soil Than is Shown on Your Soil Test
At about 29 minutes into the video you will find out about phosphorus and how you will find more of it. You won’t need to purchase any and it will be available.
But you need to create an environment that will get the indigenous microbes going to unlock that phosphorus.
You will note in the video that the presenter references P2O5 as the only form of phosporus that can be created to get to the plant. I don’t think that is quite correct, but it doesn’t make it incorrect. Just the names are not correct.
The link below to the pdf explains it if you want to follow it up.
Magnesium
if you have more than 15% base saturation of magnesium on your soil test, you have too much and you will have sticky, slimy, greasy when it’s wet soil and hard as rock dry when it dries off.
Magnesium is a greedy mineral and it hangs onto nitrogen. The more magnesium you have in your soil the more nitrogen it will tie up.
If you want to no more about the Simple Soil Tests and find out how you can reduce your inputs by 50% or more, the pdf below is a transcript of what was talked about in the video. I find that I retain a bit more when I read as well watch a video.
Feel free to download it.